So days I love printing out bag tags and favor tags to add to my treats and other days I just want an all-in-one kind of solution!
While searching the vast inventory that is available at Nashville Wraps I came across these really nice white treat bags that are lined and so FDA approved for food. Not only were they food safe, they were nicely sized and priced just right. Since I was ordered other supplies for my wreath packaging needs I met the $25 minimum that Nashville Wraps has so I added these beauties to my cart and I am very happy I did. (I haven’t looked yet but I am guessing you can buy plain white treat bags at the craft store, next time I go I will look and let you know!)
After designing (and redesigning) what I wanted to print on my candy bags, using graphics I bought from Lettering Delights, I went to tackle printing out the bags. Now, I have had my printer (Canon Pixma iP6600D, which they don’t sell anymore) for about 6 years. We are besties and have been through a lot of life changing events together. He printed my wedding invitations, birth announcements, resignation letters…you name it, he’s printed it for me, so I was pretty confident printing on flat white bags would be a breeze! Boy was I wrong. Here is what happened when I FINALLY got the bags to even start to go through the printer (which took about 8 tries)
Lovely aren’t they? The first 2 was before I discovered my “trick” and the 2nd two were post trick but with all the extra ink jammed up in the printer from my first 18 tries without the trick.
So you want to know the “trick” to printing on these bad boys?!? A piece of cardstock is the trick!! Simple right? I cut down a piece of white cardstock to fit inside the bags and ran the bags through the printer with the cardstock inside, keeping the bags stiff! I mean could it have been any simpler than that? So I printed out 20 of these beauties and everyone turned out just perfect!
I filled them with some assorted candies and lollipops, folded over the top, punched 2 holes in the bag and added a little ribbon to girlie design and some Twinery Twine to the boy version.
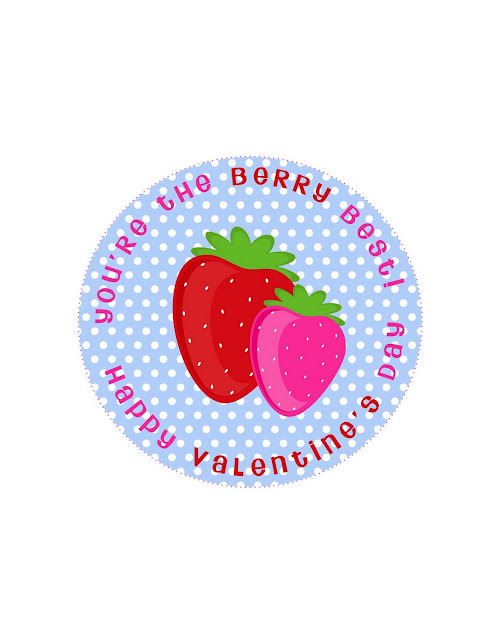
So now you might be wondering how you can get this look, too! Well I have 2 ways for you – DIY or Purchase. Now since I bought these graphics for personal use only I can’t sell them to you but I have come up with a beautiful personalizes polka dot design that you can buy, already printed on the bags, from Polka Dot Market. But if DIY is more your style I have designed 2 fun downloads for you (including matching party circles if you want to go that route)
 |
|
| You can download the bag printable HERE and the matching circle HERE |
You can download the bag printable HERE and the matching circle HERE!


those treat bags are soooo cute! love them!
Those are really cute and thanks for the cardstock trick!!!
Hi Stacy–seriously all of this Valentine’s Day stuff is adorable!! I’d love for you to come over and link some of these projects up to I Heart Projects Linky Party. Also I’m doing a Twinery Giveaway on my blog so join in if you’d like.
http://www.itsybitsypaperblog.com
These bags are so much fun – thanks for sharing how you made them!
Lowri
http://papervinenz.blogspot.com/
those bags is sooooo cute!!!!
Thanks for sharing – I love the cute bags!!
This would be a great addition to The Pretty Packages Party! Would love for you to stop by and link up!
http://blackberryvine.blogspot.com/2012/02/pretty-packages-party-12.html
Smiles!
Jami
The Blackberry Vine