While I am away I’ve asked some of the craftiest chicks I know to lend a hand and keep the old blog going! I am so excited to have Bev join us today because she makes the most beautiful jewelry and really makes it easy to follow along. Make sure you stop by her blog and say Hi!, too!
Hello She’s Kinda Crafty Readers!
My name is Bev and I blog over at Flamingo Toes. I’m so excited to be here today!

If you’re a frequent FT visitor you probably know that I love doing knockoffs, particularly Anthropologie . . .
I thought it would be fun to do another Anthro knockoff – this time the super cute Willy Nilly Bracelet.
How much do you love that name???
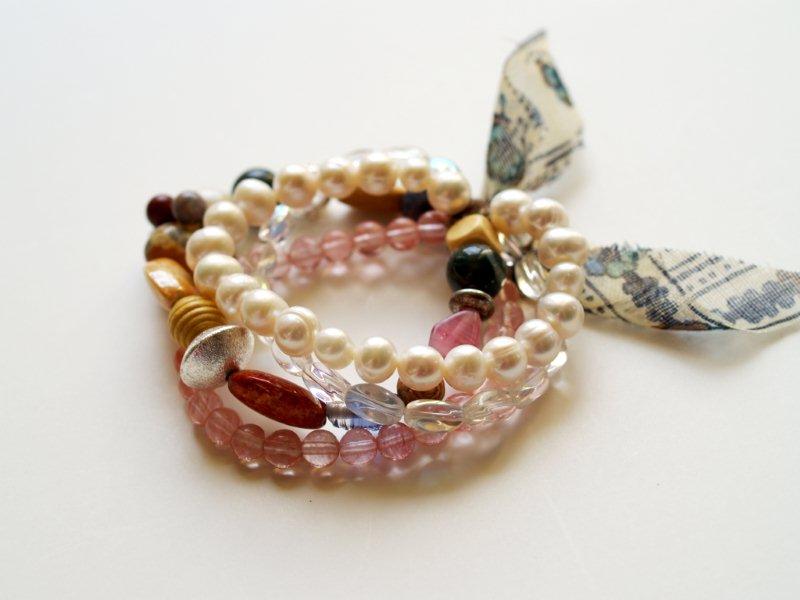
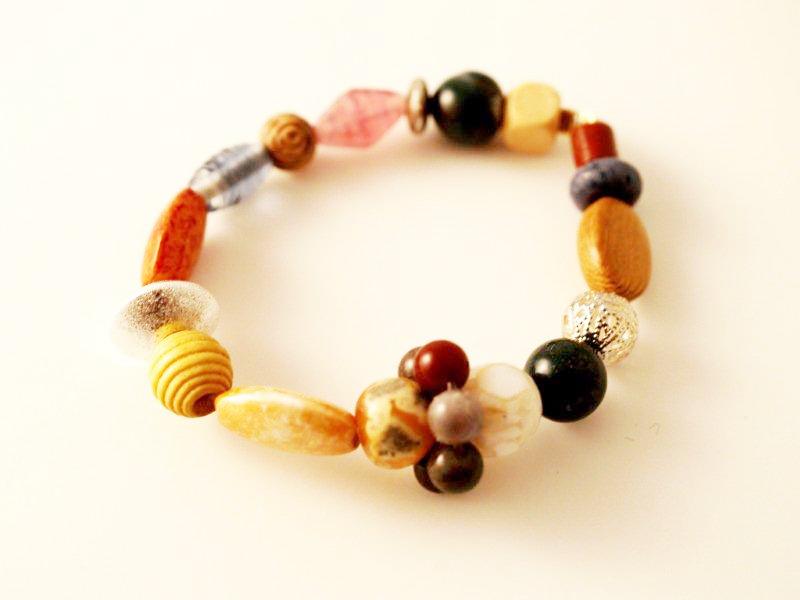
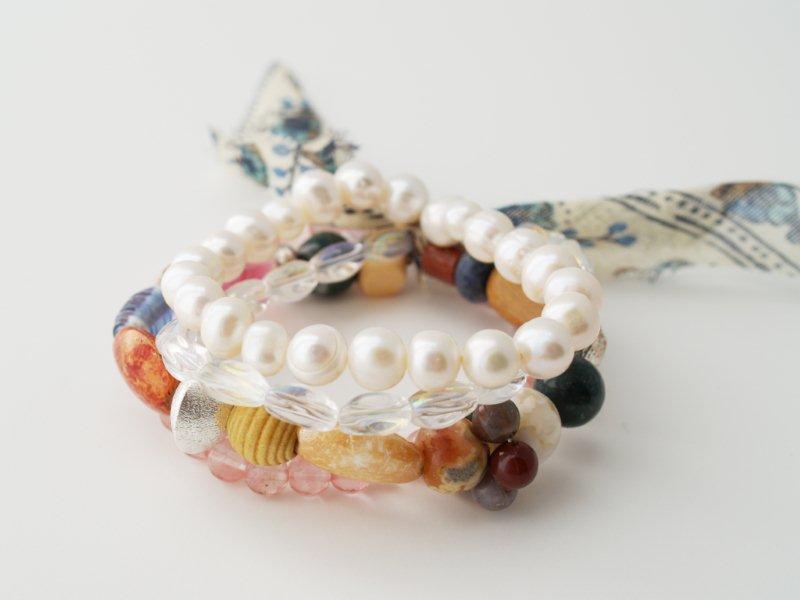
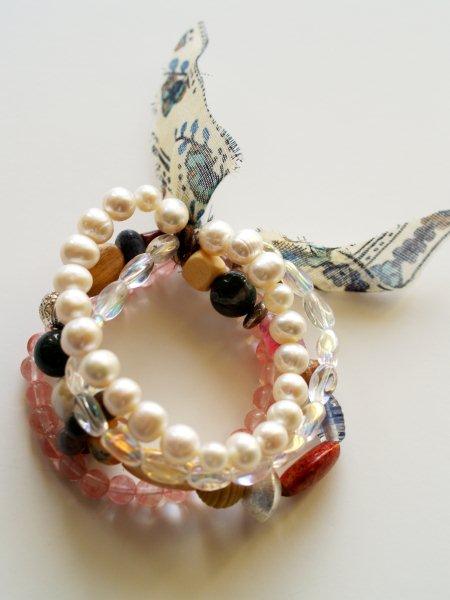
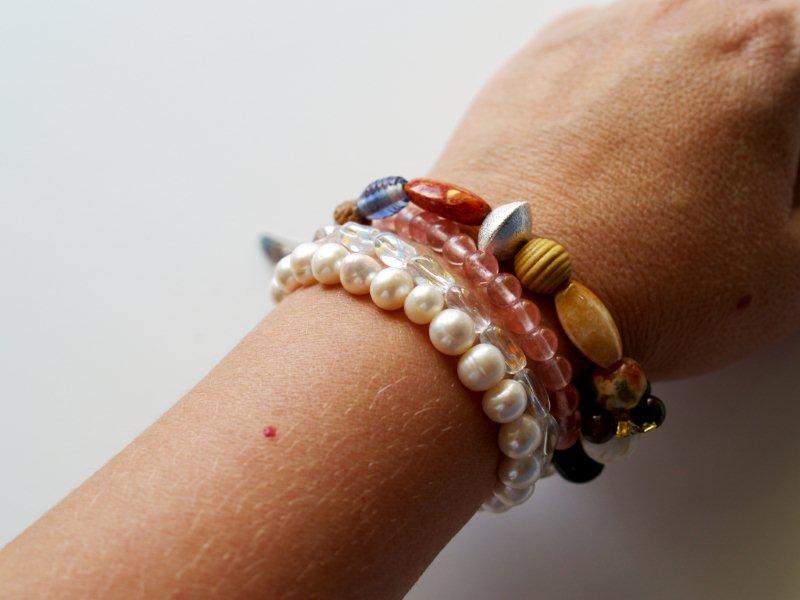
Here’s my version:

And here’s the inspiration:
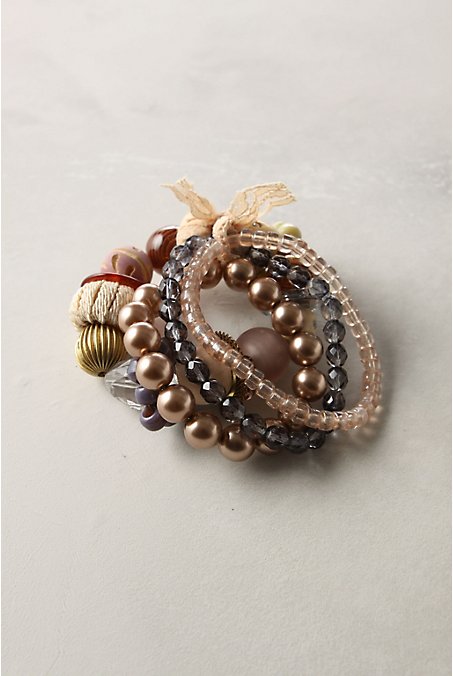
This is a great design because you can raid your stash to make up the different layers – pretty much anything goes. See? Willy Nilly. 😉
It’s also a super easy bracelet to do.
You’ll need:
• Assortments of beads. Enough for 3 strands of 3 different beads and 1 strand of whatever you have and want to throw in there.
• Scrap of fabric for tie
• Stretchy bead cord – I used .7 mm
• 8 crimp beads
• Needle nose pliers
Start by measuring your wrist. Add 1/2″ to this measurement. Then add three inches to that – and cut 4 strands of stretchy cord this length.
(So my wrist is 6 1/2″ – I cut 4 10″ strands.)
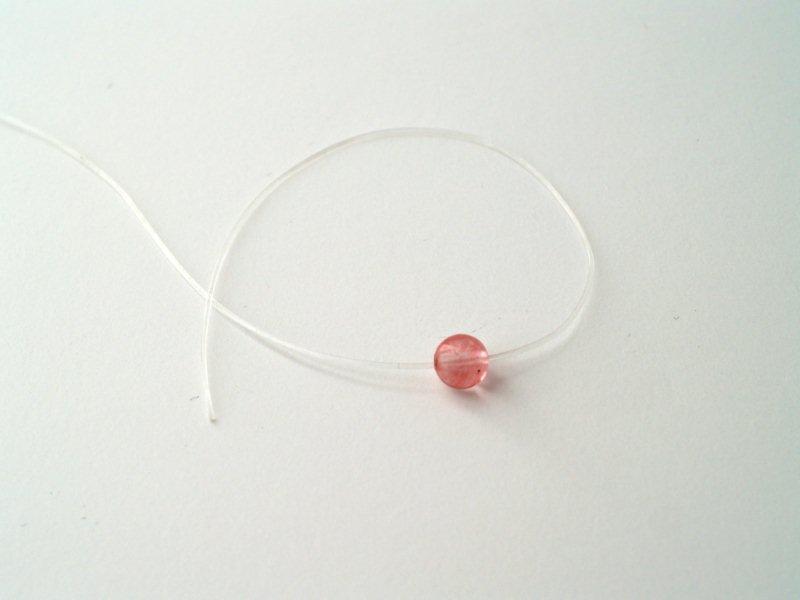
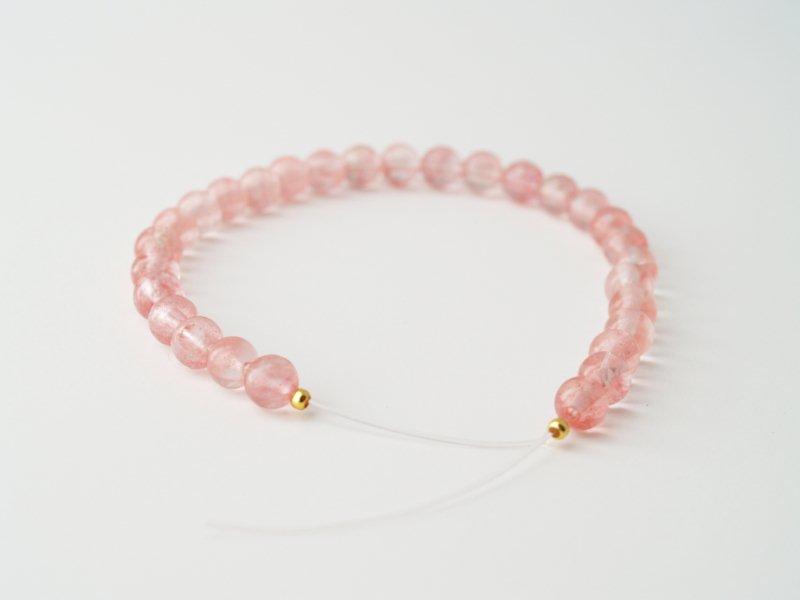
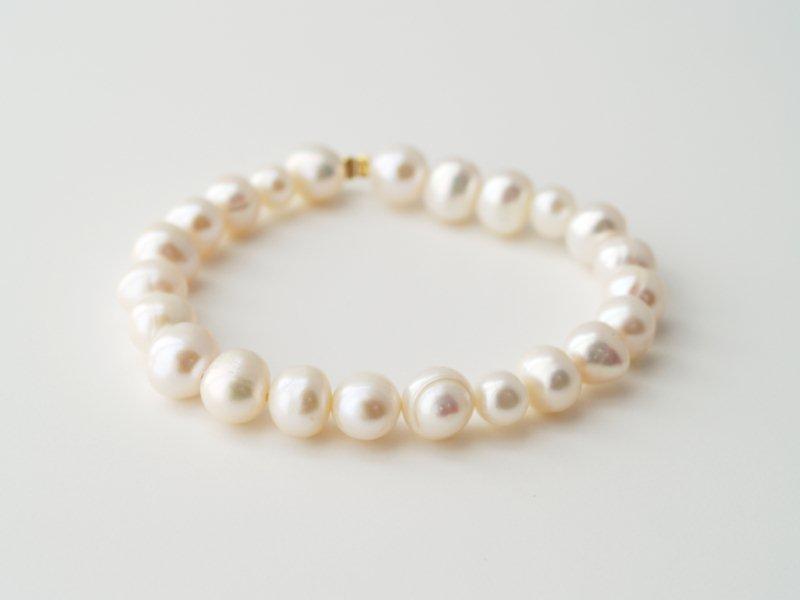
Thread the first style of bead onto one of the cords.
Continue threading your beads until the strand measures 7″ (or the width of your wrist + 1/2″). Thread a crimp bead onto each end.
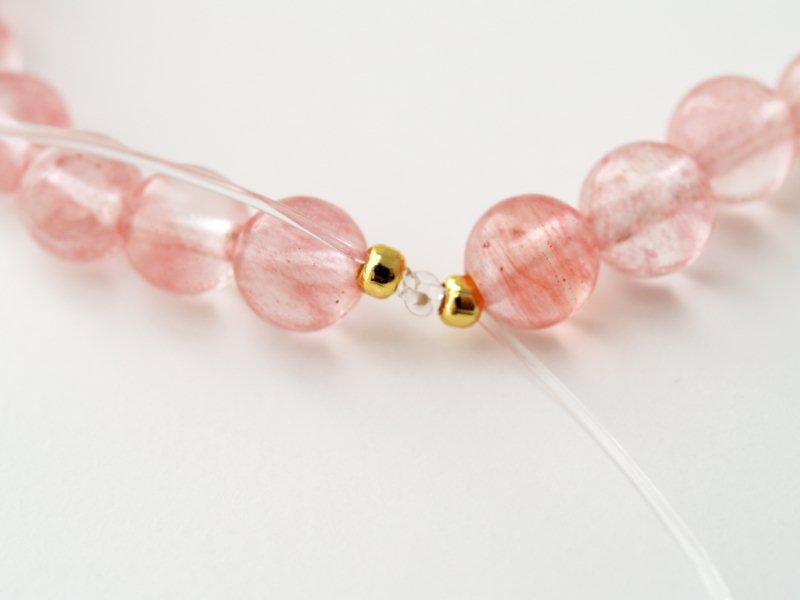
Tie a knot in the cording.
Feed each end of the cord back through a crimp bead.
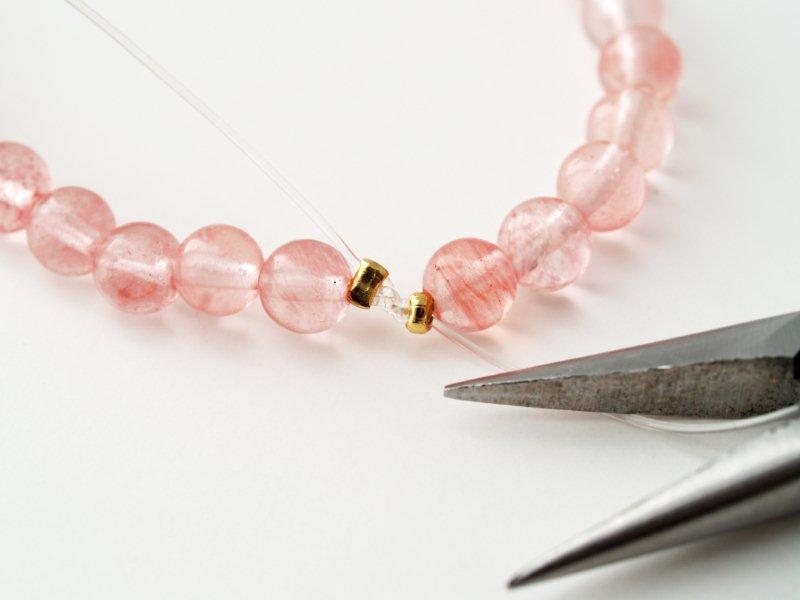
Using the pliers (grab hubby’s if you don’t have any. Manly tools work too.) squeeze the crimp beads so that they are tight around the cording. Cut the loose ends of the cords off.
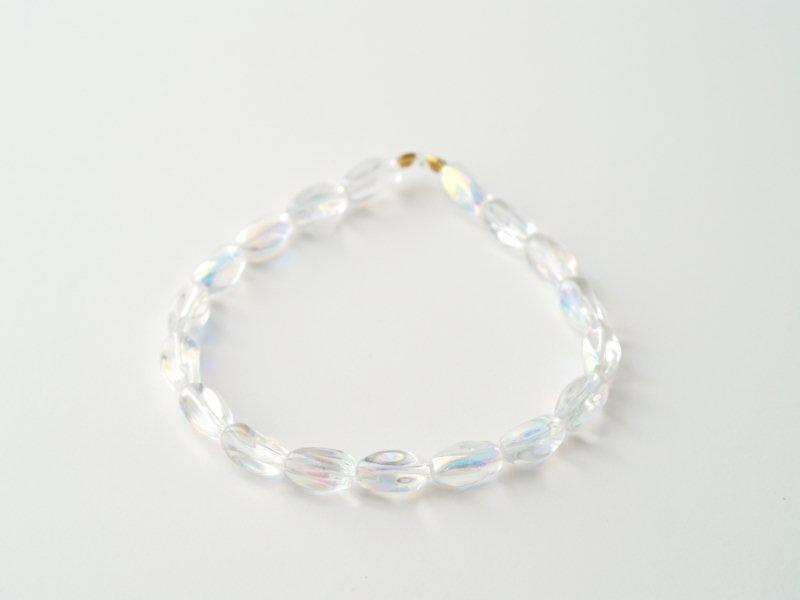
Repeat this two other times with two more different types of beads.
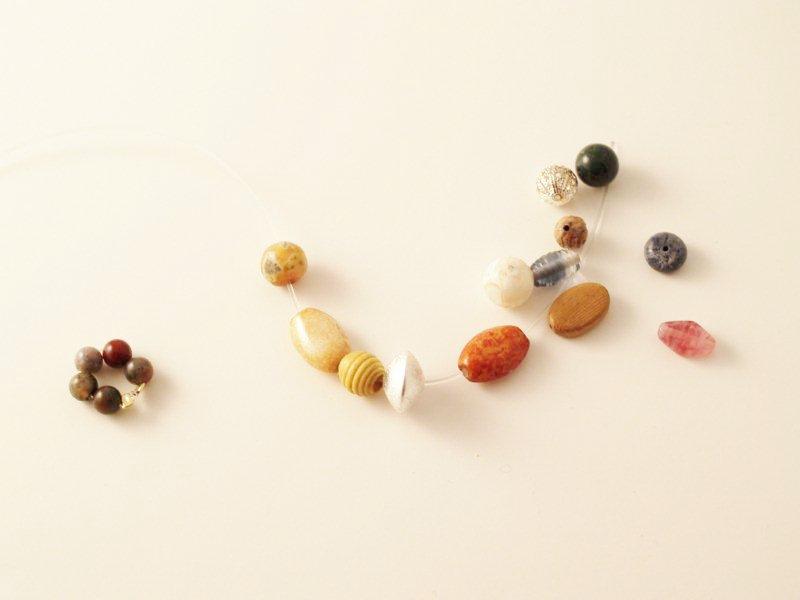
For the last strand, gather an assortment of beads. You can even cut up old necklaces if you have any lying around.
Make one small loop of beads just like the strands you’ve done, with only 4 or five beads.
Thread them on randomly, or willy nilly (I know. Enough already.) and finish the cording as before.
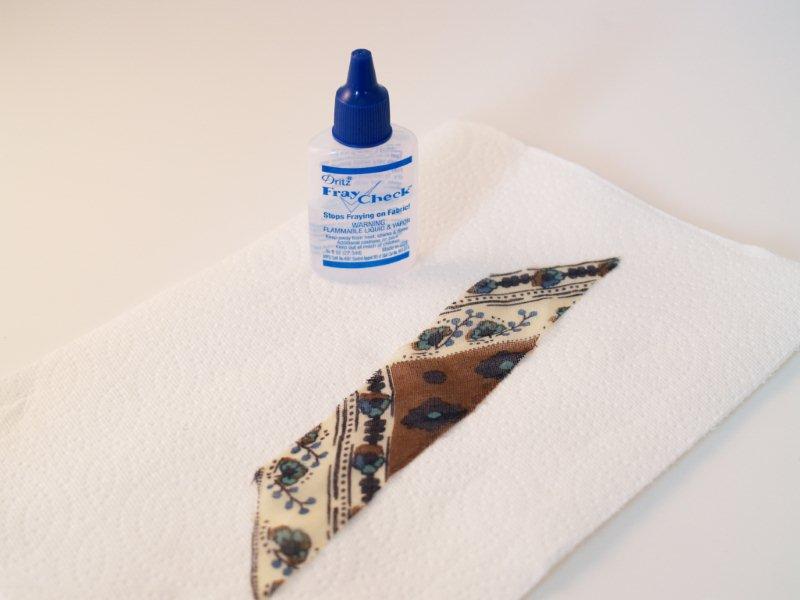
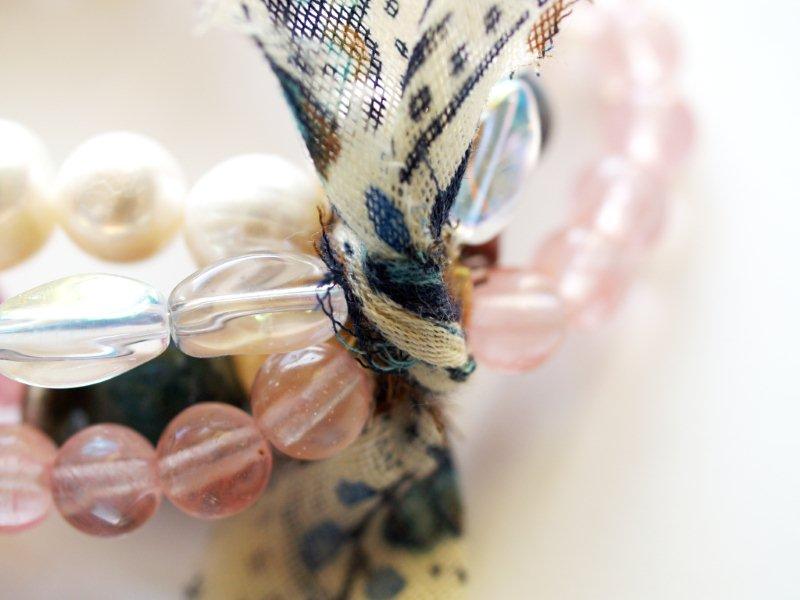
Cut a scrap section of fabric for your tie. Treat the ends with fray check so it doesn’t fray all over the place.
Layer the four strands together so the crimped ends are in line.
Knot the fabric around the crimped sections, tying all four strands together.
And you’re done!
The possibilities with this bracelet are pretty much endless. You could do different color combinations or bead styles, or you could do 2 or 3 small strands for the little girls on your gift lists! Wouldn’t this be sweet with some little pearls and charms for those princesses you know?
What do you think? I’d love to know.
I’d love for you to stop by Flamingo Toes sometime – you can check out my other tutorials here!
Thanks for having me Stacy!



I love it Bev! I might just have to make a few of these, with some of the vintage beads I’ve been collecting.
Thanks for having me over Stacy! 🙂
Awesome! Love ideas that help make a dent in the “scrap stash!”