Supplies for this project are fairly simple
- Felt (I bought mine from Giant Dwarf, it’s super DUPER nice felt)
- Sharp Scissors
- A pattern
- Hot Glue/Gun
To speed up this project and hopefully make more than 1 flower in your 20 minutes skip the tracing of your template and just stack up 2 or 3 pieces of felt and simply cut around your patter as you go. You could pin the template in place if you’d like.
I used my Silhouette CAMEO (I’ve got a deal coming for you on those in 2 weeks!!!) to cut out my templates but you can simply draw your own shapes onto thick cardstock and cut them out by hand. You’ll just need 2 different sizes of basically the same shape.
Here are the larger flower pieces that will go in the back.
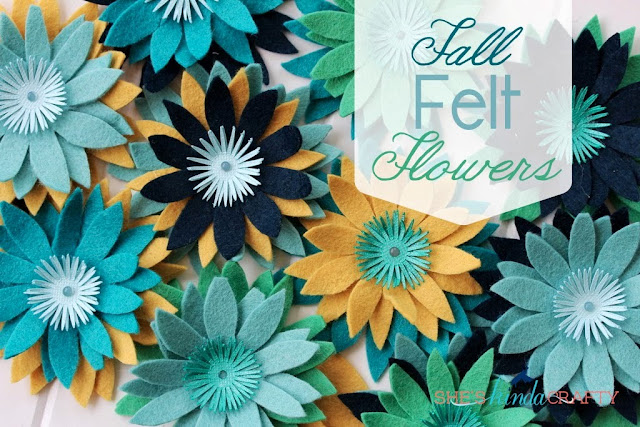
And then the smaller pieces that will go in front. You will need 2 of each size to make these flowers. You don’t need a backing piece of felt for this flower, just lay down your back flower and add a drop of hot glue (or felt glue) to the center and then place the next flower on top, twisting it slightly so the petals aren’t all lined up. Repeat this process 2 more times until you have glued together all 4 pieces of felt. To finish off your flower you can hot glue some seed beads or fringe a round small piece of felt or paper as I have done. Attach your center as you did the flowers.
My hands are starting to hurt just looking at these pictures again, it was a lot of cutting!
I love these colors together, they remind me of a coastal fall.
You can cut out a couple leaves if you’d like, or leave them plain. I mixed it up a little.


This is adorable. :0)
Gorgeous! Great colors!
Navy Wifey Peters @ Submarine Sunday Link Party
Love this! The flower shape is different then others I’ve seen! This would be great on a wreath or a million other projects! I would love if you would share this over at our blog hop http://www.ablossominglife.com/2013/08/frugal-crafty-home-blog-hop-37.html