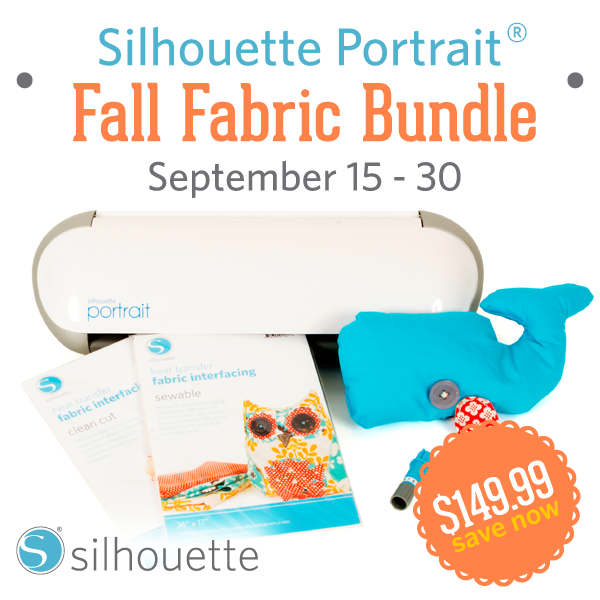
Read on to get the details on making this card and a sweet (over $100 in savings) Silhouette machine offer!!
To make this card I started with the double-sided adhesive starter kit that Silhouette recently sent me. It has everything you need to make really cute glitter and flocked details on any surface and even includes a special download card for 10 free special designs that work great with this specialty media.
I opened my Silhouette Studio design software and designed where I wanted my card to have glitter.
I used the recommended settings and cut out my design using a sheet of the double-sided adhesive.
Weed out all the negative areas off your cutting mat and this is what you are left with. Yup, my cutting mat is WELL loved and used as you can see!
So to make the card you’ll need 1 folded blank card, mine is a 4 bar size, your cut out, glitter, and a brush.
Very carefully remove the YELLOW BACKING on your cut out design. It will be must easier to pull off the white front, but don’t. Trust me!! Once you’ve removed the yellow backing lay your design down on the front of your card.
At this point you can now peel off the front and then give it a glitter bath. The included brush is great for getting all the extra glitter off the card.
- 1 cardstock essentials pack (new product)
- 1 pack printable adhesive kraft paper (new product)
- 1 pack printable clear sticker paper
- 1 pack temporary tattoo paper
- 1 pack printable cotton canvas (new product)
- 1 pack chipboard
- 1 pack printable silver foil
- 1 pack printable magnet paper
- 1 pack double-sided adhesive


Absolutely adorable project. You did a great job! This would be great to link up to Create It Thursday #25…it’s live now! Hope to see you there!