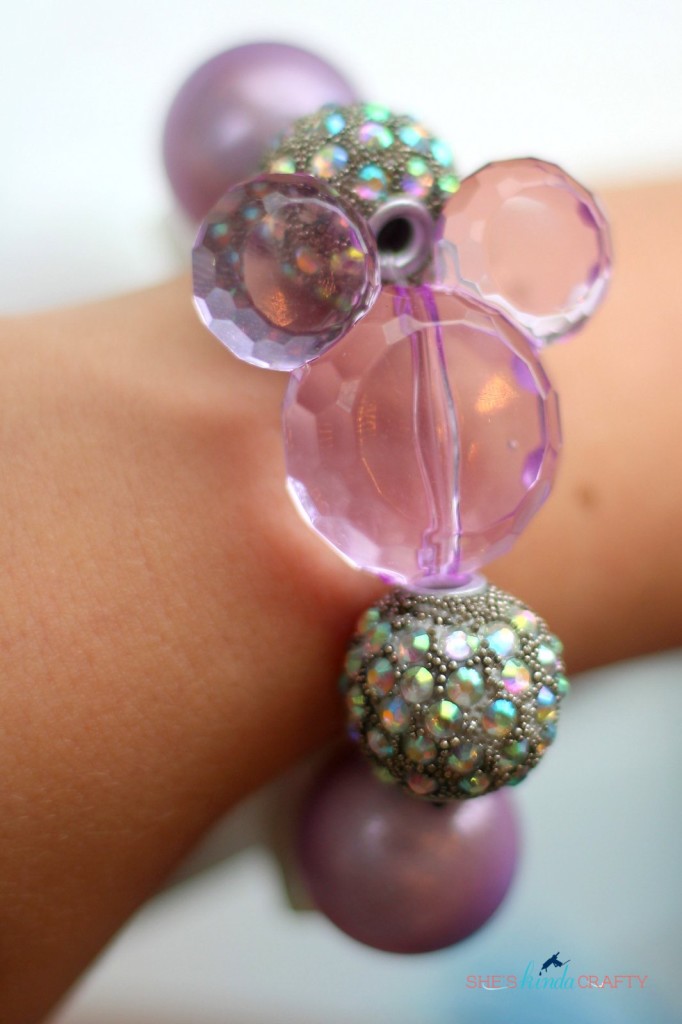
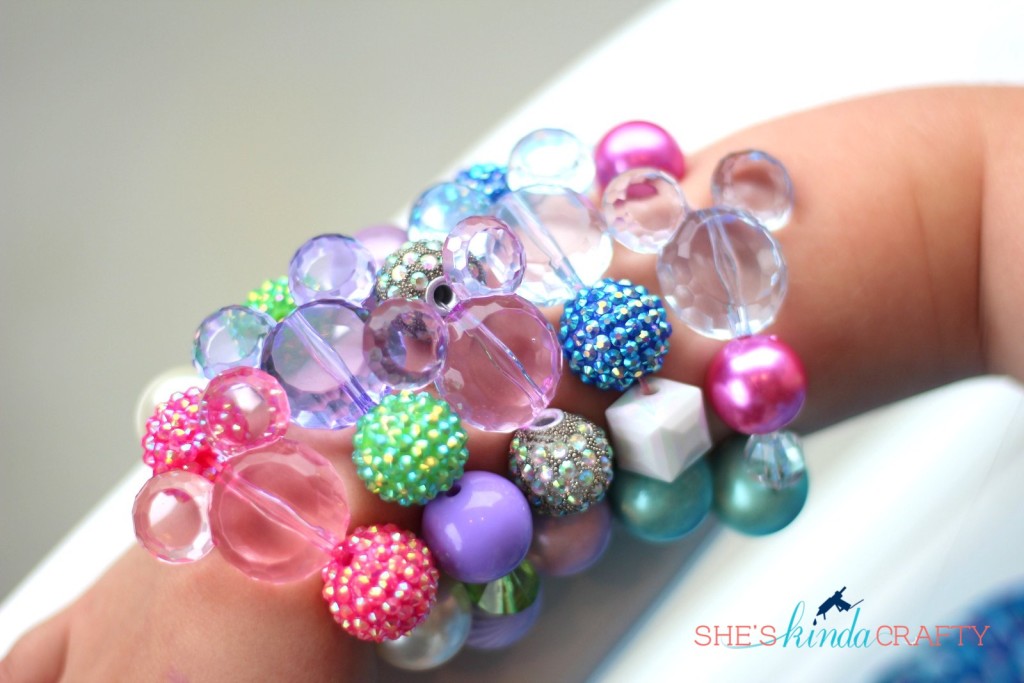
What started off as me wanting to use up some beading supplies I’ve been hoarding for several years has turned into a full-fledged jewelry shop in my craft studio. About 3 years ago I had this grandiose idea of having a mother-daughter crafting party before the holidays. I ordered a bunch of supplies including about 300 18-24mm gumball beads, straight from China. Well, like all ideas of doing ANYTHING right before or during the holidays, this party never came to be and a large bin of beads have just been sitting in my cabinet. Sitting in the cabinet laughing at me for having such big ideas. But this week it is I who is having the last laugh – I finally found a use for the beads! DIY Disney Princess inspired bracelets finally gave me the craft I needed to get use out of that big bin and my two daughters couldn’t be more thrilled!
Oh, and you won’t believe how easy they are to make. We’re talking 5 minutes per bracelet! Double score.
Although the supplies are really simple it might take some searching around to find exactly what you want. Like I said, I ordered my beads from China through AliExpress (you can find pretty much anything there and most of it comes with free shipping, just be prepared to wait several weeks for your delivery). However, if you just want to make one or 2 bracelets you can find everything you need by searching acrylic beads on Etsy. The round ones I used were about 20mm size “gumball” beads and the Mickey shaped are 34mm acrylic beads. In recent months more large beads are becoming available in most craft stores and departments. Even Walmart has a good selection!
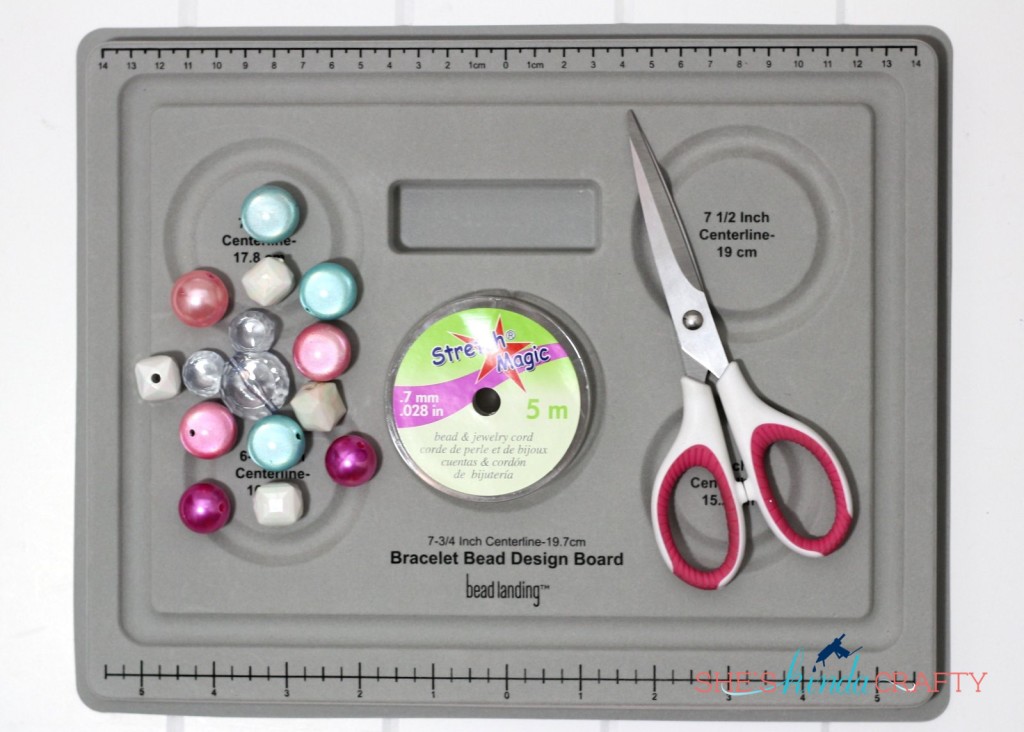
Supplies:
- Stretch Magic stretchy jewelry cord
- Beads
- Scissors
- Clear Nail Polish
- Bead Design Board (optional)
1) Measure your child’s wrist and add about an inch to account for the chunkiness of the beads – that’s how long you’ll need your finished design to be.
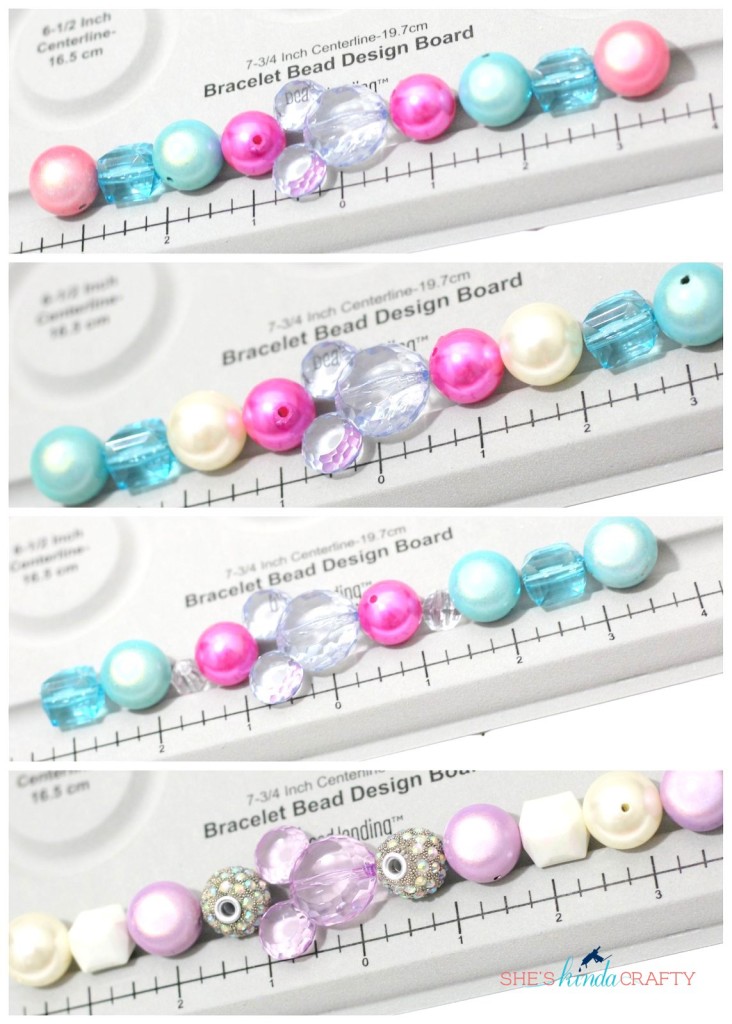
2) Line your beads up on your bead design board. For me this is the hardest part. Just keep playing with it until it looks good to you. This is where the circles in the bead design board come in handy. It’s nice to see the beads going around in a circle to get a better idea of how it will look while wearing.
3) Cut a length of stretch magic about 2 inches longer than your finished design.
4) String your beads in order.
5) Follow the directions on the back of the package to tie off your bracelet (you’ll need to tie 3 square knots, that’s it!)
6) Seal the knots with some clear nail polish and then cut the extra cord, I still like to leave about a 1/4″ inch cord.
That’s all you need to do! How simple is that?
It’s a good thing they are so easy and fast to make because you are going to get a LOT of requests once they see the first one.
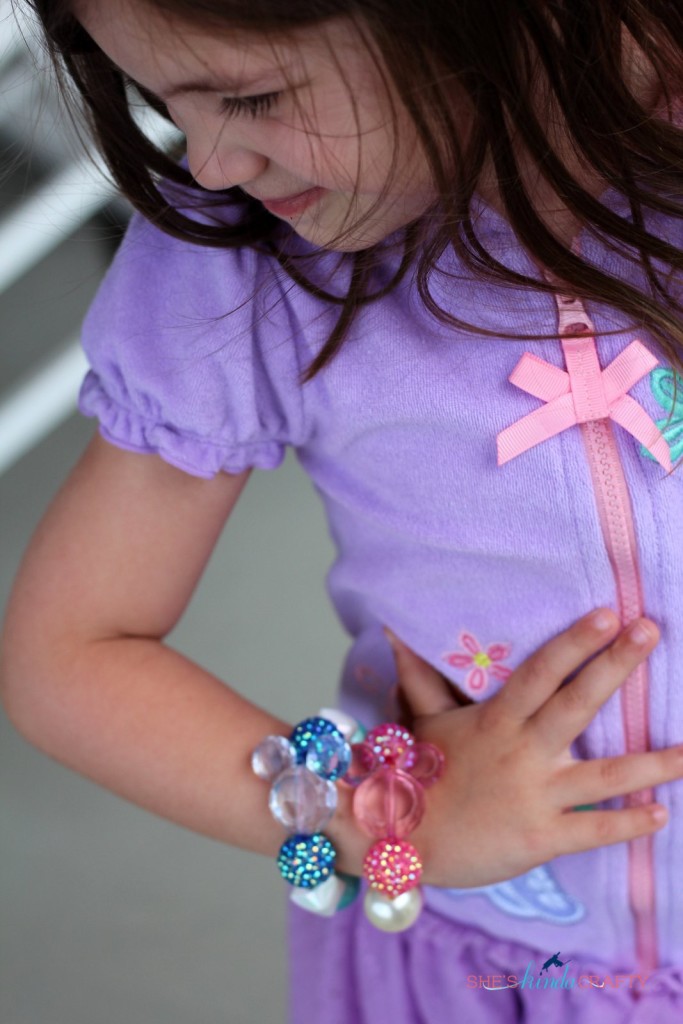
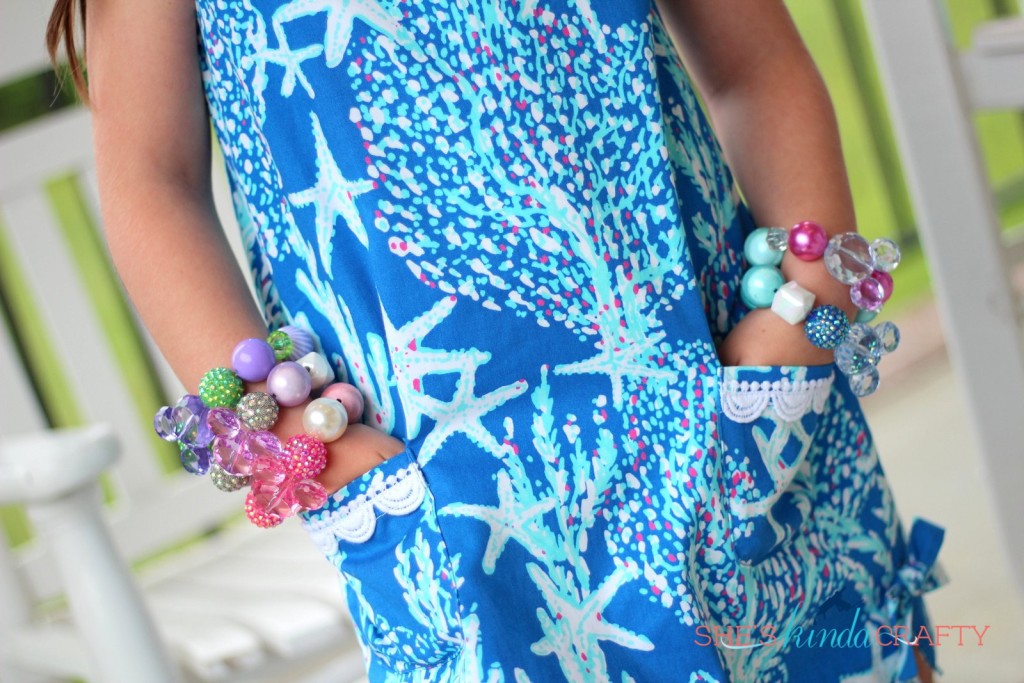
Total arm candy, five year old style!!
I mean, the cutest, it’s just too much.
I know that these bracelets are going to be treasured for many years to come by my little ladies and I am pretty sure they will be packed in our suitcase come time for our cruise this summer.
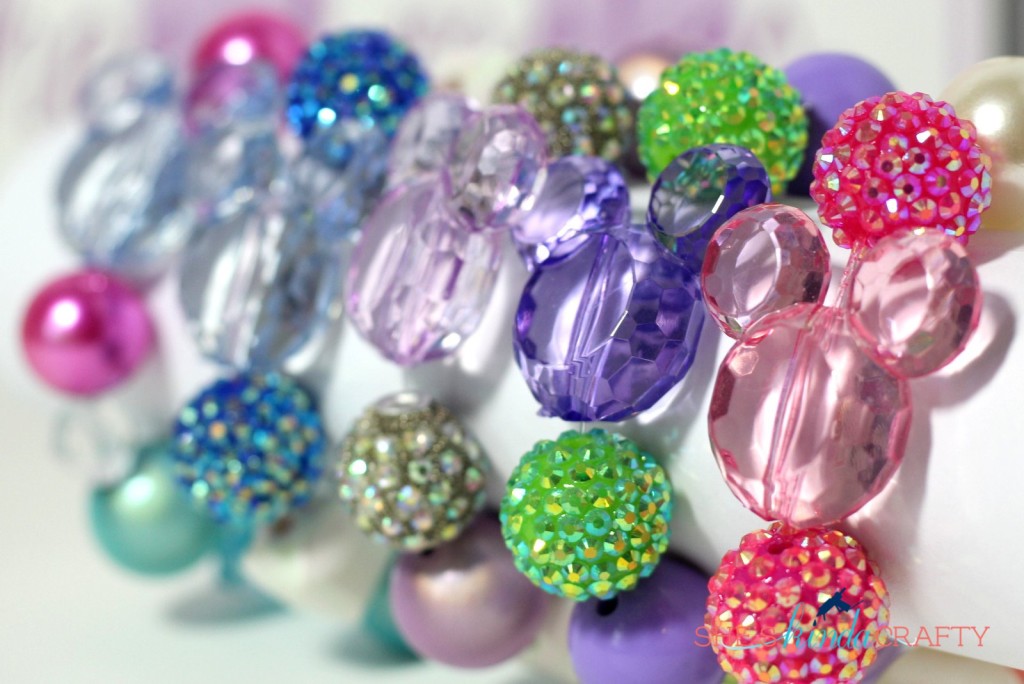
In fact, they are so sparkly and adorable that they may even become part of future birthday and Christmas gifts for friends and family! Let’s face it, what girl doesn’t want a little sparkle arm candy?!?



Leave a Reply